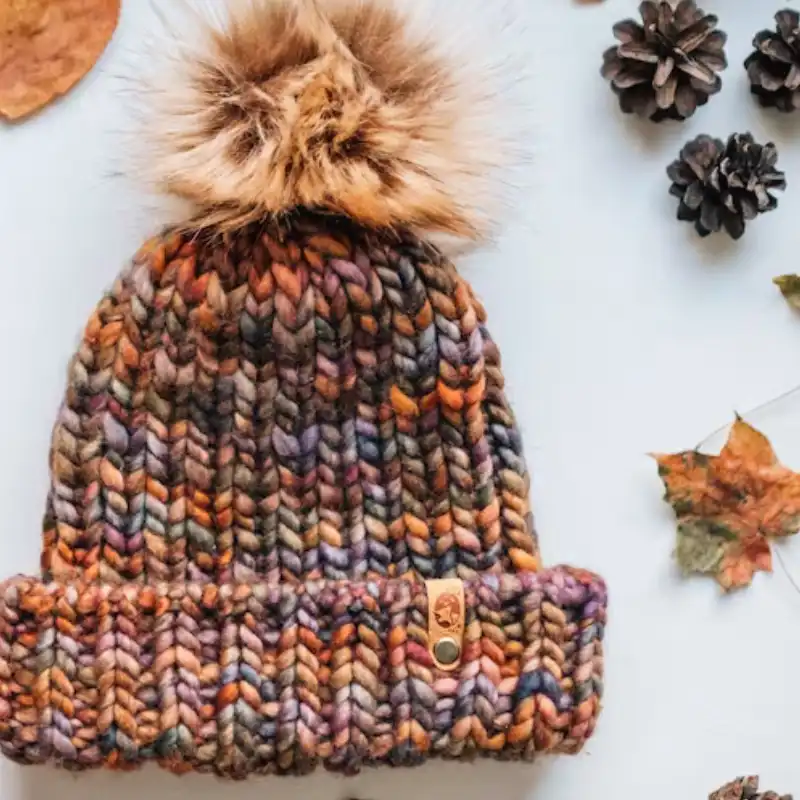
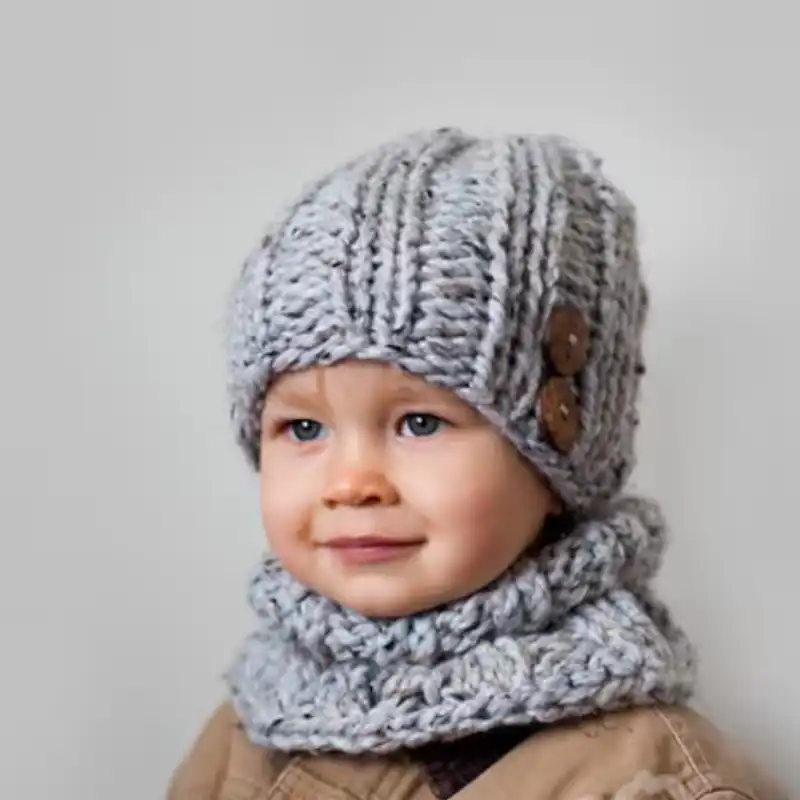
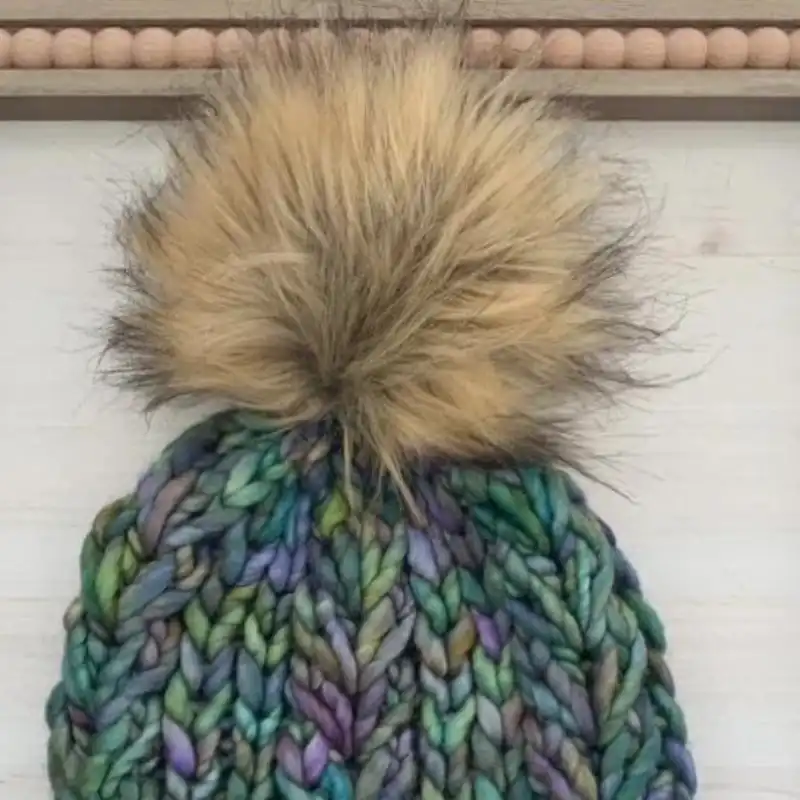
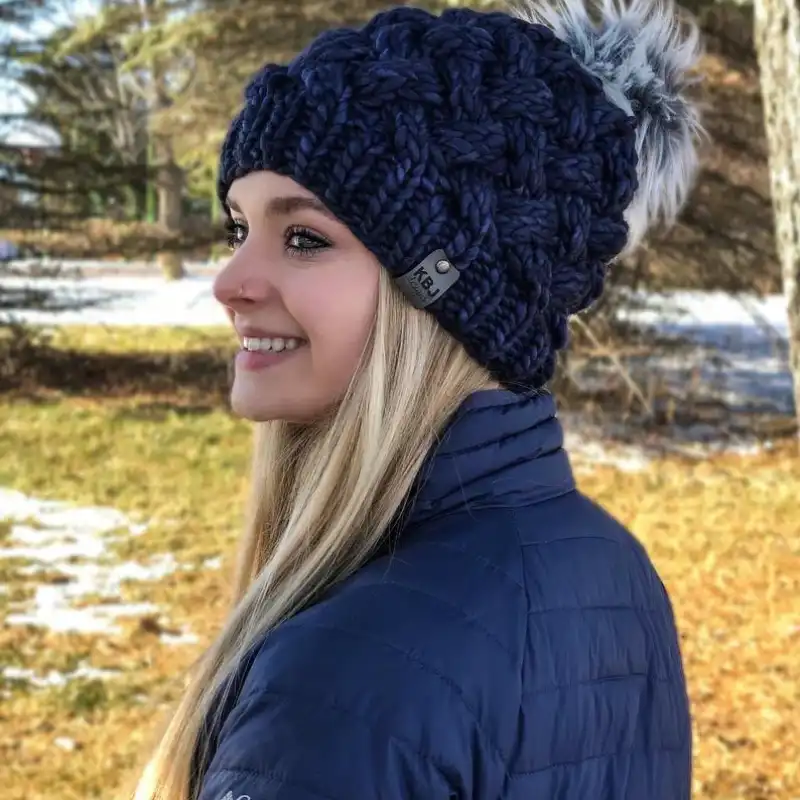
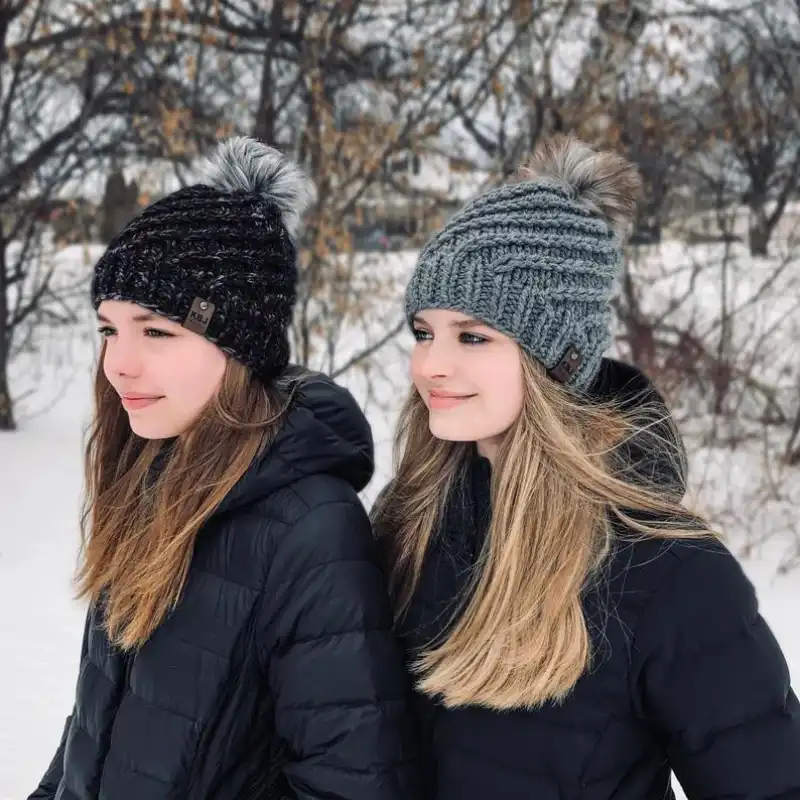
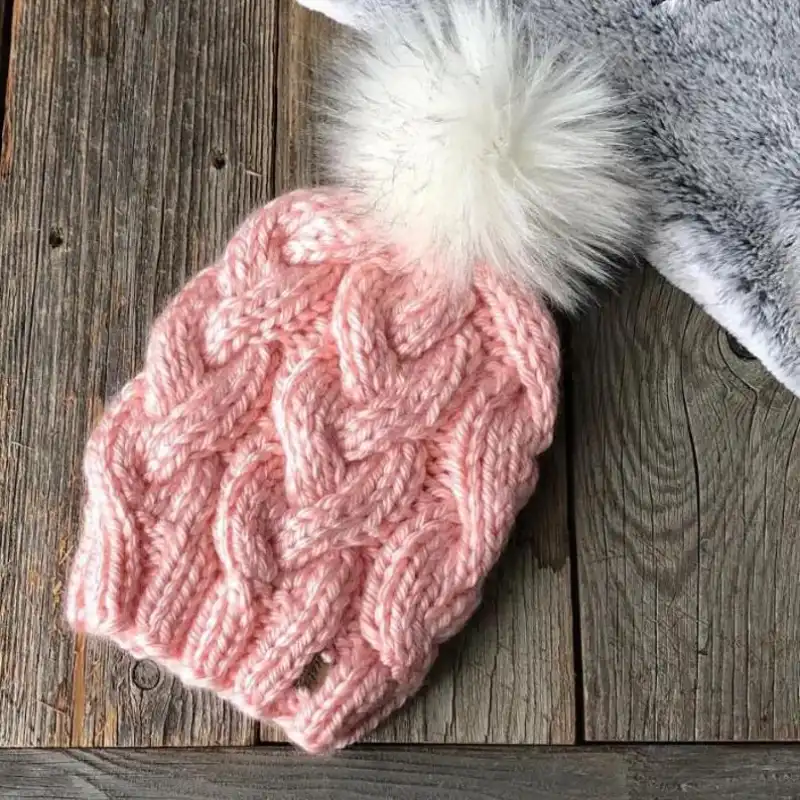
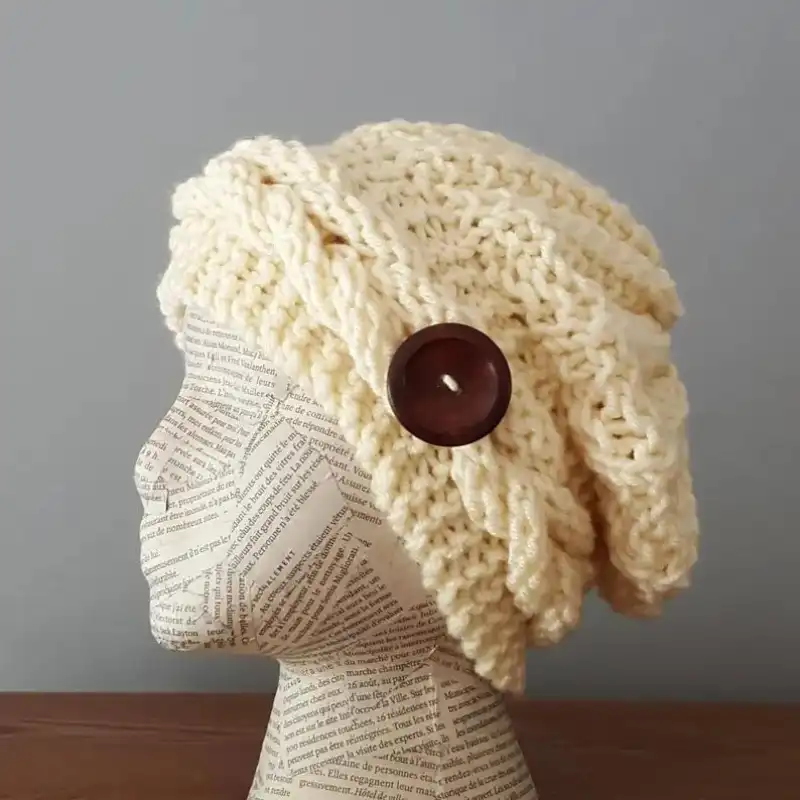
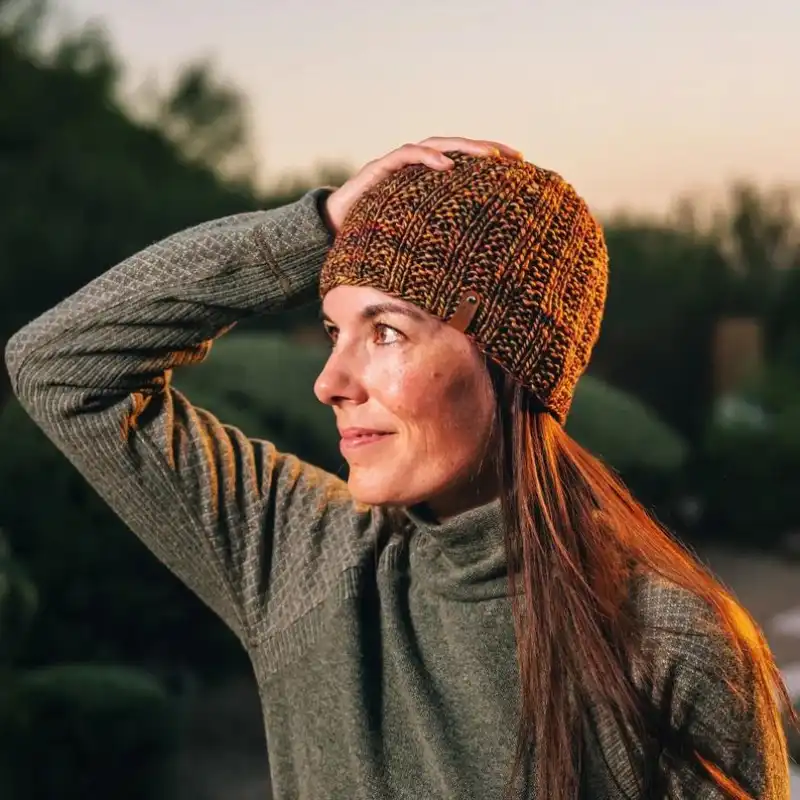
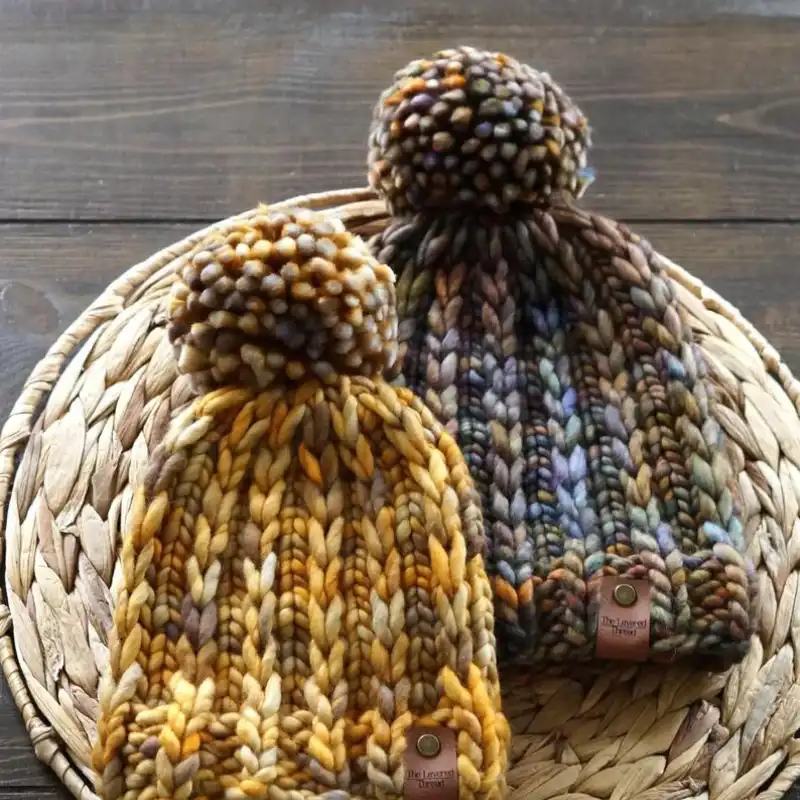
Are you feeling the winter chill creeping in but don’t want to sacrifice style for warmth? As a crochet expert, I’ve faced this dilemma too!

The problem is apparent: keeping cozy without compromising on elegance. But fear not, I have a solution that’s both fun and fashionable. The action? Grab your knitting needles! I’ve compiled 21 Free Super Bulky Hat Knitting Patterns that are a great way to stay warm and add a touch of elegance to your winter wardrobe.
These patterns are the best way to resolve the issue of mundane winter hats. Each is a masterpiece, offering you the most significant advantage of customizability and style. They are one of the simplest and most effective ways to enhance your knitting skills.
Whether you’re a beginner or a seasoned pro, these patterns are your best bet. Among my top picks, you’ll find designs that are one of the easiest to follow, ensuring you’ll never be left in the cold again.
With just yarn and needles, these patterns are the easiest way to solve the problem of a dull winter wardrobe. So, get ready to transform your knitting experience with these patterns – all you need is a little yarn and imagination!
Popularity & Versatility Of Knitting Patterns
As an expert knitter, I’ve seen the rise in popularity of super bulky hat knitting patterns; let me tell you, they are something special. These patterns have genuinely revolutionized the knitting world.
Their appeal lies in the perfect blend of quick completion times and the cozy, elegant outcomes they produce. They are a dream for both beginners eager to learn and seasoned knitters seeking new challenges.
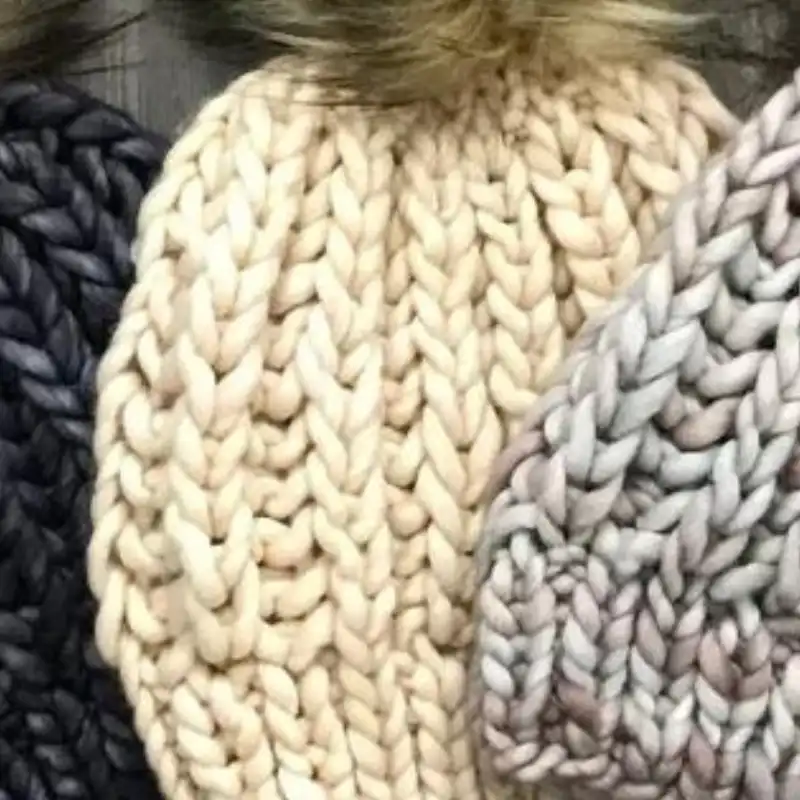
Working with super bulky yarns opens up a world where creating statement pieces becomes not just easy but enjoyable. These yarns have the power to transform simple designs into eye-catching accessories. And the best part? They require fewer stitches. It means you can knit everything from classic beanies and stylish toques to hats with sophisticated cables and textures in no time.
As a beginner, imagine being able to craft a hat quickly with intricate details, something that looks like it took weeks to make! And for us experts, pushing our skills with new textures and patterns is gratifying.
The popularity of these hat patterns isn’t just about their ease and style; they are also perfect for gifting or jazzing up your winter wardrobe. I encourage you to pick up your needles and delve into the super bulky hat knitting world.
With chic designs and versatile styles at your fingertips, you’ll soon realize that knitting with super bulky yarn isn’t just rewarding; it’s an incredibly fun way to express your creativity and stay snug in style.
Benefits Of Knitting Bulky Hats
Knitting bulky hats offers a variety of benefits, both practical and creative:
- Quick To Complete: Bulky yarn knits up faster, making these projects great for those who want quick results or need last-minute gifts.
- Warmth And Comfort: The thick yarn provides excellent insulation, making bulky hats ideal for colder weather.
- Beginner-Friendly: Working with bulky yarn is easier for beginners to handle and see their stitches, which is encouraging for those just learning to knit.
- Stylish And Trendy: Bulky hats can be very fashionable and make a bold style statement during the winter months.
- Versatile Designs: Despite their simplicity, bulky hats can be adapted into countless styles and patterns, appealing to various tastes.
- Therapeutic And Relaxing: Like all knitting, creating bulky hats can be a soothing, meditative activity that reduces stress.
- Portable Projects: Bulky hat projects are generally small and easy to carry around, allowing you to knit on the go.
- Cost-Effective: Often, bulky hats require less yarn than other projects, making them a cost-efficient way to create something functional and beautiful.
- Practical Skill Development: Knitting bulky hats helps hone knitting skills like basic stitches, decreases, and sometimes cable work or colorwork.
- Satisfaction Of Handmade: There’s a unique satisfaction in wearing or gifting something you’ve crafted by hand, and bulky hats are no exception.
- Customizable: Easily adaptable in size, color, and design, these hats allow for personal expression and creativity.
- Durability: Hats made with bulky yarn are durable and long-lasting, providing warmth for many winters.
- Eco-Friendly Option: Knitting bulky hats can be an environmentally friendly craft by choosing sustainable yarns.
- Community Connection: Sharing patterns, ideas, or knitting in groups builds community and connects people with similar interests.
- Educational: Knitting teaches valuable skills like patience, concentration, and the ability to follow instructions, which are beneficial in various aspects of life.
RELATED: 22 Cable Knitting Patterns Discovering Intricate Knit Designs
Size & Measurement For Hat Knitting
You must consider size and measurement to ensure the perfect fit when knitting a super bulky hat for warmth and elegance. With a few easy-to-follow guidelines, you’ll soon have a stylish and cozy addition to your winter wardrobe.
First, determine the size of the hat you want to create. Most patterns come in various sizes, from newborn to adult large. To get the right fit, measure the head circumference of the person for whom you knit the hat. It can be done by using a flexible measuring tape and wrapping it around the widest part of the head.
A super bulky yarn typically requires larger knitting needles (e.g., US 11 or 13) to achieve the desired gauge.
Here are some general guidelines for hat sizes based on head circumference:
Newborn: 12-14 inches (30-35 cm)
Baby (3-12 months): 16-18 inches (40-45 cm)
Child: 18-20 inches (45-50 cm)
Teen: 20-22 inches (50-55 cm)
Adult Small: 21-23 inches (53-58 cm)
Adult Medium: 22-24 inches (55-60 cm)
Adult Large: 24-26 inches (60-66 cm)
Remember, the super bulky yarn will provide extra warmth and thickness to the knitted hat. Choose a stretchy hat pattern to accommodate the snug fit and ensure comfort.
In summary, carefully consider head circumference, gauge, and stretchiness when knitting a super bulky hat. By adhering to these guidelines, you can create a cozy, elegant, and well-fitted hat that will be a delightful addition to any wardrobe during the cold winter months.
Various Stitches To Knit A Super Bulky Hat
Knitting a super bulky hat can be both an exciting and creative endeavor. Here are various stitches you can use, each adding its unique texture and style to your hat:
- Garter Stitch: This is the simplest knitting stitch, made by knitting every row. It creates a stretchy fabric with a bumpy texture, ideal for a snug, warm hat.
- Stockinette Stitch: Made by knitting one row and purling the next, this stitch results in a smooth, classic fabric with a ‘V’ pattern on one side and a bumpy texture on the other. It’s great for showcasing the bulkiness of the yarn.
- Rib Stitch: This involves alternating knit and purl stitches within the same row, creating a stretchy fabric perfect for the brim of a hat. Common variations include 1×1 rib (knit 1, purl 1) and 2×2 rib (knit 2, purl 2).
- Seed Stitch: A combination of alternating knit and purl stitches across rows, creating a textured, ‘bumpy’ fabric. This stitch is excellent for adding visual interest to a hat.
- Moss Stitch: Similar to the seed stitch but with two rows of the same before switching. It creates a more raised and defined texture, giving the hat a sophisticated look.
- Cable Stitch: This involves twisting stitches to create a raised cable pattern. It’s more advanced but adds a classic touch to any hat.
- Lace Stitch: Although rare in super bulky hats, lace stitches can create decorative holes and patterns. It is more challenging and best suited for experienced knitters.
- Slip Stitch: Great for colorwork or adding texture, this involves slipping a stitch from one needle to the other without knitting it.
- Basketweave Stitch: This stitch creates a checkerboard texture, mimicking a woven basket. It’s achieved by alternating patches of knit and purl stitches.
- Bobble Stitch: Used to create small, round protrusions on the fabric, adding a playful and unique texture to the hat.
- Fisherman’s Rib: Similar to the primary rib but puffier and more pronounced, this stitch is perfect for a super cozy, extra warm hat.
- Tuck Stitch involves knitting stitches from different rows to create a tucked or pleated effect.
Essential Tools & Materials
Knitting super bulky hats is a delightful project, and having the right tools and materials is crucial for a successful and enjoyable knitting experience. Here’s a list of essential items you’ll need:
Super Bulky Yarn: The star of the show! Choose a high-quality, super bulky yarn that suits your project. Wool or wool blends are famous for their warmth and durability, but synthetic options exist for those with wool sensitivities or looking for a budget-friendly choice.
Knitting Needles: You’ll need large needles to match your bulky yarn. Typically, needles in US 10 (6mm) to US 15 (10mm) are suitable, but always check your yarn label for recommended needle size.
Circular Needles: For hats, circular needles are often used. They range from 16 inches (ideal for hats) to longer lengths for other projects. Circular needles are a must if you plan to knit in the round.
Double-Pointed Needles (DPNs): These are needed to decrease the top of the hat, especially if it’s knitted in the round. DPNs in a size matching your circular needles will work.
Stitch Markers: Essential for marking the beginning of a round or specific pattern repeats in your hat.
Scissors: A good pair of sharp scissors is essential for cutting your yarn.
Measuring Tape: To measure the head’s circumference and the hat’s length to ensure a perfect fit.
Row Counter: Helpful for keeping track of rows, especially when following a specific pattern.
Pattern or Instructions: Whether it’s a printed pattern, a digital download, or instructions from a book, having a clear guide is vital, especially for beginners.
Yarn Swift And Ball Winder (Optional): If you’re using hanks of yarn, these tools make winding the yarn into balls much easier and quicker.
Blocking Mat And Pins (Optional): For shaping and setting your finished hat, especially if it has a lace or cable pattern.
Abbreviations For Knitting Super Bulky Hats
When knitting super bulky hats, you’ll come across various abbreviations in patterns. These abbreviations are a shorthand way of conveying knitting instructions. Here’s a list of standard abbreviations you might encounter:
CO: Cast On – Creating the initial stitches on the needle.
BO: Bind Off – Finishing off your work by securing the stitches so they don’t unravel.
K: Knit – The basic knit stitch.
P: Purl – Another basic stitch, the opposite of a knit stitch.
St(s): Stitch(es) – The individual loops on your knitting needle.
Rnd(s): Round(s) – A complete circle around your knitting needles, used when knitting in the round.
Rep: Repeat – Doing the same series of stitches again.
K2tog: Knit Two Together – A primary decrease method, knitting two stitches together.
P2tog: Purl Two Together – Similar to K2tog, but with purl stitches.
SSK: Slip, Slip, Knit – Another decrease method that provides a left-leaning decrease.
YO: Yarn Over – An increase method that creates a hole, used in lace patterns.
PM: Place Marker – Put a stitch marker on your needle to mark a specific place.
SM: Slip Marker – Moving the marker from one needle to another.
M1: Make One – An increase method by picking up the bar between stitches and knitting into it.
Sl: Slip – Transferring a stitch from one needle to the other without knitting it.
RS: Right Side – The front or public-facing side of the work.
WS: Wrong Side – The back or inside of the work.
CBL: Cable – Involves crossing a group of stitches over another group.
DPN: Double-Pointed Needles – Needles with points at both ends, used for small circular items like hats.
SKP: Slip, Knit, Pass – A decrease method involving slipping a stitch, knitting the next stitch, then passing the slipped stitch over the knit one.
Which Yarn Is Best To Knit a Super Bulky Hat?
As an avid knitter, I’ve worked with various yarns for creating super bulky hats, and I’ve found that the best yarn often depends on the project’s purpose, the desired look, and the wearer’s preferences. Here are my insights into different types of yarns suitable for knitting super bulky hats:
Wool Yarn: Wool is a classic choice. It’s warm, durable, and has natural moisture-wicking properties. For super bulky hats, a pure wool yarn or a wool blend can provide warmth for winter wear. It’s also great for cable and textured patterns due to its elasticity.
Merino Wool: A type of wool, merino is exceptionally soft and less itchy than regular wool. It’s perfect for people with sensitive skin. Merino wool yarns are luxurious and provide excellent insulation.
Acrylic Yarn: For those allergic to wool or looking for a more budget-friendly option, acrylic yarn is a great choice. It’s easy to care for, available in a wide range of colors, and is less likely to shrink or feel. However, it doesn’t breathe as well as wool.
Alpaca Yarn: Alpaca is another luxurious option. It’s warmer than wool, soft, and has a lovely drape. It’s hypoallergenic, making it a good choice for those who can’t wear wool. However, alpaca yarn can be a bit slippery to work with and might stretch over time.
Cotton Yarn: While not as warm as wool or acrylic, cotton yarn is breathable and soft. It’s a good choice for transitional weather hats or for those who live in milder climates.
Blended Yarns: Blends combine the best qualities of different fibers. For example, a wool-acrylic blend can be warm, easy to care for, and more affordable than pure wool. There are endless possibilities, and blends can be tailored to suit specific needs like warmth, durability, and ease of care.
Chunky Chenille Yarn: This is a popular choice for super bulky hats due to its softness and plush texture. It creates a cozy, cushiony fabric for casual, slouchy hats.
Synthetic/Novelty Yarns: These can include materials like polyester or nylon and are often used for adding unique textures or visual effects. They’re fun to experiment with but may offer different warmth or breathability than natural fibers.

How Much Yarn Do I Need To Knit A Super Bulky Hat?
In my knitting experience, the amount of yarn needed for a super bulky hat can vary depending on several factors:
- The specific pattern
- The size of the hat
- The yarn’s thickness
- Even your knitting tension
Generally, you can expect to use about 60 to 100 yards of super bulky yarn for an adult-sized hat.
If the hat has a simple design, like a basic beanie, you’ll likely be on the lower end of that range. However, you might need more yarn for more intricate patterns or designs with additional features like a large pom-pom. Always check the yarn requirements in your pattern, as different patterns can have different yardage needs.
It’s also a good practice to buy a bit extra yarn than the pattern suggests, just in case. It helps ensure you stay supplied, especially if you’re using a yarn that might have dye lot variations. Plus, any leftover yarn can always be used for small accessories like ear warmers or to embellish other projects.
RELATED: 30 Unique Patchwork Blanket Knitting Patterns Knit Your Way To Coziness
Techniques & Stitches Required for Knitting
Knitting a super bulky hat is a satisfying project involving various techniques and stitches. Each contributes to the hat’s overall look, fit, and feel. Here’s an overview of critical techniques and stitches often required:
Casting On: The foundation of any knitting project. For super bulky hats, a stretchy cast-on like the long-tail cast-on is ideal, providing a comfortable, flexible edge for the hat’s brim.
Knit Stitch (K): The most basic knitting stitch forms the backbone of many hat patterns. It creates smooth, stockinette fabric or the garter stitch in every row.
Purl Stitch (P): The inverse of the knit stitch, often combined with knit stitches to create ribbing for the brim, providing elasticity and snug fit.
Ribbing: Commonly used for the brim of the hat. It involves alternating knit and purl stitches (like K1, P1, or K2, P2) to create a stretchy fabric that keeps the hat secure on the head.
Knitting in the Round: Many super bulky hats are knitted in the round on circular or double-pointed needles. This technique avoids seams and creates a continuous piece, ideal for hats.
Decreasing: Essential for shaping the crown of the hat. Common decrease stitches include Knit Two Together (K2tog) and Slip, Slip, Knit (SSK). These techniques help to gradually reduce the number of stitches and shape the hat’s top.
Cabling: For those who want a textured hat, cabling is a technique where stitches are crossed over each other. It requires a cable needle and some practice but adds a beautiful twist to your hat.
Pattern Reading: Understanding how to read knitting patterns is crucial. Patterns provide the blueprint for your project, including stitch counts, rounds, and special instructions.
Binding Off: This is how you finish your hat. A stretchy bind-off is useful here to maintain the elasticity of the hat’s edge.
Weaving in Ends: After finishing the knitting part, you’ll need to weave in the loose ends of your yarn for a neat finish.
Optional Techniques: Depending on your pattern, you might also encounter techniques like yarn overs (for decorative holes), slip stitches (for texture or colorwork), or tuck stitches (for unique textures).
Is It Beginner Friendly?
From my experience, knitting a super bulky hat is indeed beginner-friendly. The thicker yarn and larger needles make the stitches easier to see and handle, which is excellent for those just starting.
These projects typically require fewer stitches and rows, so they come together quickly, offering instant gratification and a sense of accomplishment.
Simple patterns with basic stitches like knit and purl are abundant, making them ideal for beginners. The straightforward construction of most bulky hats also means less complex shaping, which is another plus for newcomers to knitting. Overall, it’s a fantastic and rewarding project for beginners.
How do you cast on knitting for a super bulky hat, and how many stitches?
Casting on for a super bulky hat is an important step, as it sets the foundation for your project. The number of stitches you cast on will depend on the specific pattern you’re using, the size of the hat, the yarn weight, and the needle size. However, I can guide you through a general approach for casting on a super bulky hat:
Choose the Right Cast-On Method: A stretchy cast-on method is ideal for hats. I recommend the Long-Tail Cast-On for its elasticity and neat edge, which is perfect for the brim of a hat.
Determining Stitch Count: A typical adult-sized super bulky hat may require between 40 to 50 stitches, depending on the desired size and the yarn/needle combination. Always refer to your pattern for specific counts. If you’re creating your design or adapting a pattern, you might need to do a gauge swatch first to calculate the correct number of stitches per inch and then multiply it by the desired circumference of the hat.
Executing the Long-Tail Cast-On
- Start by estimating the length of the tail needed. A good rule of thumb is to allow about 0.75 to 1 inch of yarn per stitch for super bulky yarn.
- Make a slip knot and place it on one of your needles. It counts as your first stitch.
- Hold the needle with the slip knot in your right hand. With your left hand, secure the tail end (the one leading to the slip knot) and the working yarn (the yarn going to the ball) in a way that allows you to scoop up yarn easily.
- Use your needle to scoop up yarn from the thumb side (tail end), creating a loop on the needle, then from the finger side (working yarn), pulling it through the loop.
- Tighten slightly, forming a new stitch on the needle. Repeat this process until you have the desired number of stitches.
- Check Your Stitches: Make sure your cast-on edge is tight enough. It should be elastic enough to stretch comfortably, as this will be the brim of your hat.
How To Knit A Beginner-Friendly Super Bulky Hat?
Knitting a beginner-friendly super bulky hat is a great way to start your knitting journey. Here’s a simple, step-by-step guide to help you create your first hat:
Skill Level
Easy
Materials Needed
- Super bulky yarn (about 60-100 yards)
- Circular knitting needles suitable for super bulky yarn (usually size US 10-15 / 6-10 mm)
- Stitch marker
- Tapestry needle for weaving in ends
- Scissors
Instructions
1. Cast On
Long-Tail Cast-On: For an adult-sized hat, cast on 40-45 stitches using the long-tail cast-on method. This method provides a stretchy edge, perfect for hat brims.
2. Join in the round
Ensuring Not to Twist Stitches: Place a stitch marker and join the cast-on stitches in the round, being careful not to twist the stitches.
3. Knit the Brim
Rib Stitch: Knit a K1, P1 rib stitch (knit one stitch, purl the next) for about 2 inches. It creates a stretchy brim for the hat.
4. Knit the Body
Stockinette Stitch: After completing the ribbed brim, continue knitting every stitch (since you’re working in the round, this automatically creates a stockinette stitch pattern). Do this about 6-7 inches from the edge of the brim. The total length can be adjusted based on how slouchy you want your hat.
5. Decrease (Shape the Crown)
Simple Decreases
- Round 1: Knit 8, knit two stitches together (K2tog). Repeat * to * around.
- Round 2: Knit all stitches.
- Round 3: Knit 7, K2tog. Repeat * to * around.
- Round 4: Knit all stitches.
Continue this pattern, decreasing the number of knit stitches between each K2tog by one each time until you have about 6-8 stitches left.
6. Finishing the Hat
Closing the Top
- Cut the yarn, leaving a long tail (about 10 inches).
- Thread the tail through a tapestry needle and then through the remaining stitches.
- Pull tight to close the top of the hat.
7. Weave in Ends
Securing the Yarn: Use the tapestry needle to weave in any loose ends on the inside of the hat.
8. Optional: Add a Pom-Pom
Creating a Pom-Pom: If desired, make a pom-pom and securely attach it to the top of the hat.
Tips For Success
- Gauge: Don’t worry too much about gauge for this project; super bulky hats are forgiving.
- Relax: Keep your stitches relaxed. Tight stitches can make the hat less stretchy and more challenging.
- Experiment: Feel free to experiment with different colors or add stripes.
21 Different Patterns For Knitting Bulky Hats
1. Eddie Beanie Super Bulky Edition
Cozy up in style with the Eddie Beanie Super Bulky Edition knitting pattern. This design takes the classic beanie to the next level, using super bulky yarn for extra warmth and a quick knit. Perfect for cold weather, the Eddie Beanie combines comfort and style in a hat that’s as fashionable as practical.
Suggested Yarn: Super Bulky Yarn
Difficulty Level: Beginner to Intermediate
Yarn Weight: Super Bulky
Needle Size: US 13 (9.0 mm)
2. Chunky Urban Hat
Make a bold statement with the Chunky Urban Hat knitting pattern. This design embraces the chunky yarn trend, creating a modern and cozy hat. Perfect for urban adventures or chilly days, the Chunky Urban Hat adds a touch of contemporary flair to your winter wardrobe.
Suggested Yarn: Chunky Weight Yarn
Difficulty Level: Beginner to Intermediate
Yarn Weight: Super Bulky
Needle Size: US 10 (6.0 mm)
3. Torrey Toque Pattern
Embrace simplicity and warmth with the Torrey Toque knitting pattern. This super bulky hat pattern features a classic design that prioritizes comfort without sacrificing style. The Torrey Toque is a versatile addition to your cold-weather accessories, perfect for quick and satisfying knits.
Suggested Yarn: Worsted Weight Yarn
Difficulty Level: Intermediate
Yarn Weight: Worsted
Needle Size: US 8 (5.0 mm)
4. Knit Pattern For Yukon Slouch Hat
Conquer winter in style with the Knit Pattern for Yukon Slouch Hat. This super bulky slouchy hat offers both warmth and a laid-back vibe. Perfect for those who appreciate a relaxed and comfortable fit, the Yukon Slouch Hat is a must-have for chilly days and casual outings.
Suggested Yarn: Worsted Weight Yarn
Difficulty Level: Intermediate
Yarn Weight: Worsted
Needle Size: US 7 (4.5 mm)
5. Super Bulky Knit Hat Pattern
Stay toasty in style with the Super Bulky Knit Hat Pattern. This design features a simple yet chic pattern showcasing the super bulky yarn’s beauty. Perfect for a quick and satisfying knit, the Super Bulky Knit Hat is a versatile choice for keeping warm during colder months.
Suggested Yarn: Super Bulky Yarn
Difficulty Level: Beginner
Yarn Weight: Super Bulky
Needle Size: US Size 13 (9.0 mm)
6. Hollow Rock Hat
Add texture to your winter wardrobe with the Hollow Rock Hat knitting pattern. This super bulky hat features unique stitches or patterns, creating a hat that’s as visually interesting as warm. Perfect for those who love a bit of detail in their accessories, the Hollow Rock Hat is a standout piece for colder days.
Suggested Yarn: Worsted Weight Yarn
Difficulty Level: Intermediate
Yarn Weight: Worsted
Needle Size: US Size 8 (5.0 mm)
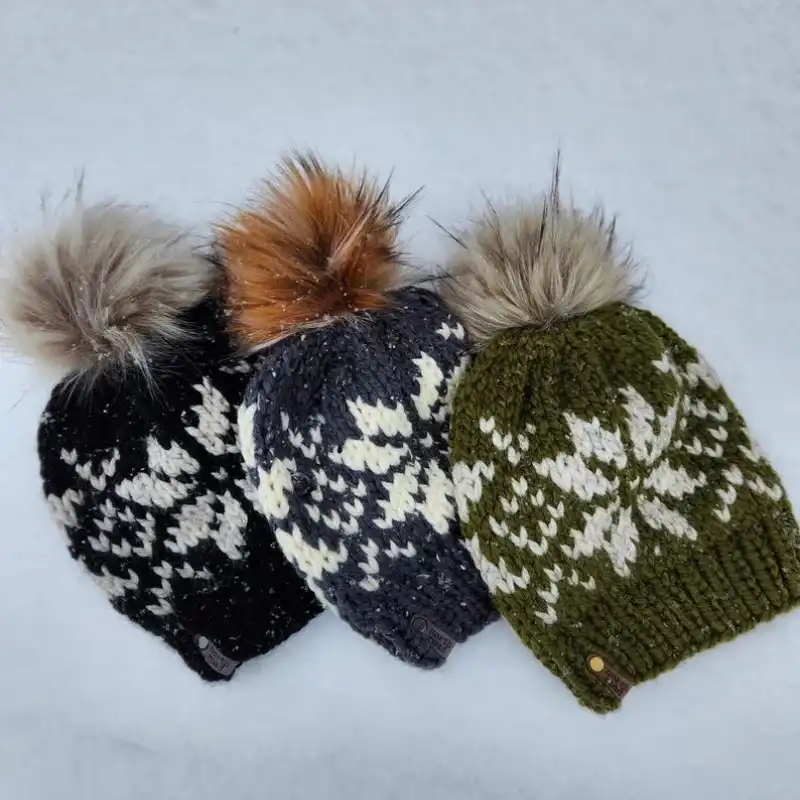
7. The Snowflake Hat
Embrace the beauty of winter with The Snowflake Hat knitting pattern. This super bulky hat features snowflake motifs or stitches, adding a touch of seasonal charm to your cold-weather wardrobe. Perfect for holiday gatherings or snowy days, The Snowflake Hat allows you to showcase your festive spirit.
Suggested Yarn: Fingering Weight Yarn
Difficulty Level: Advanced
Yarn Weight: Fingering
Needle Size: US Size 2 (2.75 mm)
8. Moonstone Beanie
Shine bright in the Moonstone Beanie knitting pattern. This super bulky hat design features a combination of stitches that create a textured, eye-catching look. Perfect for those who love a bit of sparkle in their winter accessories, the Moonstone Beanie adds a touch of elegance to your cold-weather ensemble.
Suggested Yarn: DK Weight Yarn
Difficulty Level: Intermediate
Yarn Weight: DK
Needle Size: US Size 6 (4.0 mm)
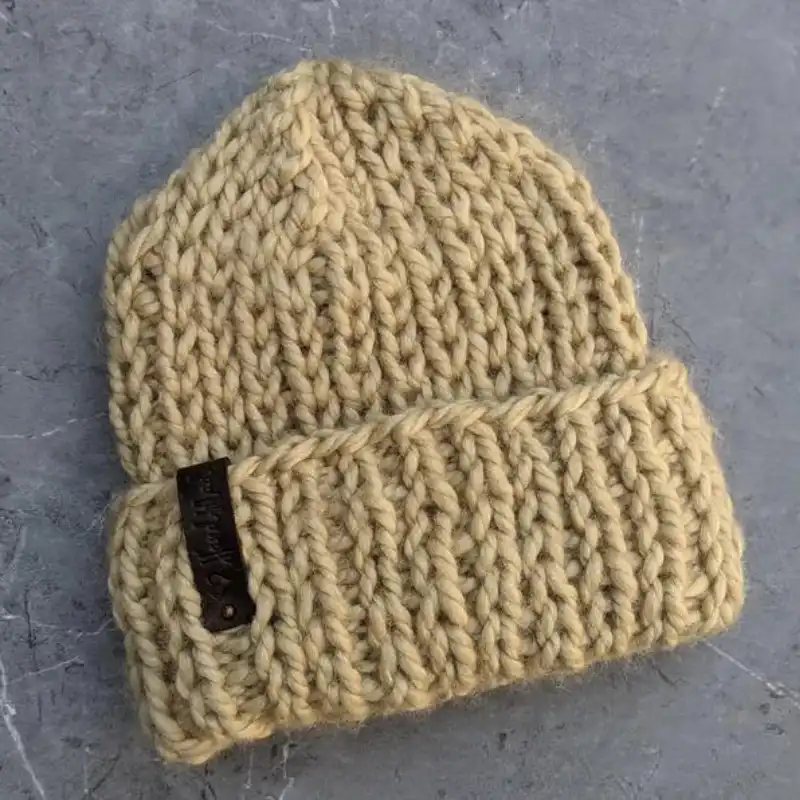
9. Double Brim Bulky Hat
Stay extra warm with the Double Brim Bulky Hat knitting pattern. This design features a double-layered brim for added insulation and coziness. Perfect for braving the coldest days, the Double Brim Bulky Hat is a practical and stylish choice for those who prioritize warmth without compromising style.
Suggested Yarn: Bulky Weight Yarn
Difficulty Level: Beginner
Yarn Weight: Bulky
Needle Size: US Size 10 (6.0 mm)
10. Alpine Swirl Hat
Channel alpine vibes with the Alpine Swirl Hat knitting pattern. This super bulky hat design incorporates swirl or spiral stitches, creating a dynamic and visually striking look. The Alpine Swirl Hat is a bold addition to your winter accessories, perfect for those who love a modern and adventurous style.
Suggested Yarn: Aran Weight Yarn
Difficulty Level: Intermediate
Yarn Weight: Aran
Needle Size: US Size 7 (4.5 mm)
11. The Moab Beanie Pattern
Explore the outdoors in style with The Moab Beanie Pattern. This super bulky hat design is inspired by rugged landscapes, featuring stitches or details that evoke a sense of adventure. Perfect for outdoor enthusiasts, the Moab Beanie is a cozy and stylish choice for cold-weather activities.
Suggested Yarn: Worsted Weight Yarn
Difficulty Level: Intermediate
Yarn Weight: Worsted
Needle Size: US Size 7 (4.5 mm)
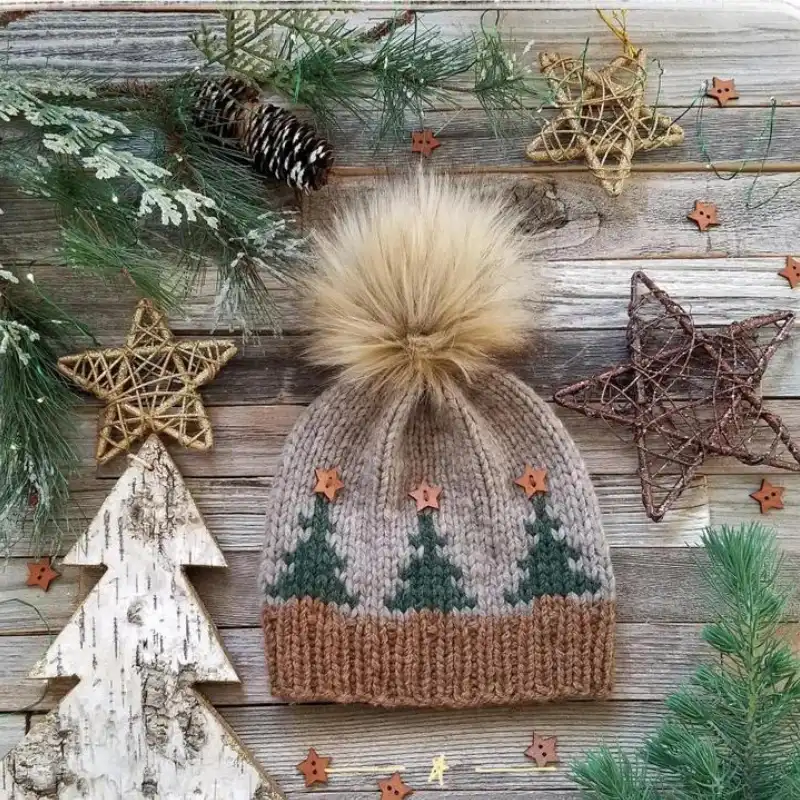
12. Christmas Trees Fair Isle Knit Hat
Celebrate the holiday season with the Christmas Trees Fair Isle Knit Hat pattern. This super bulky hat features festive fair isle motifs, adding a touch of Christmas cheer to your winter wardrobe. Perfect for holiday gatherings or as a festive gift, this hat lets you showcase your yuletide spirit.
Suggested Yarn: Sport Weight Yarn
Difficulty Level: Intermediate
Yarn Weight: Sport
Needle Size: US Size 4 (3.5 mm)
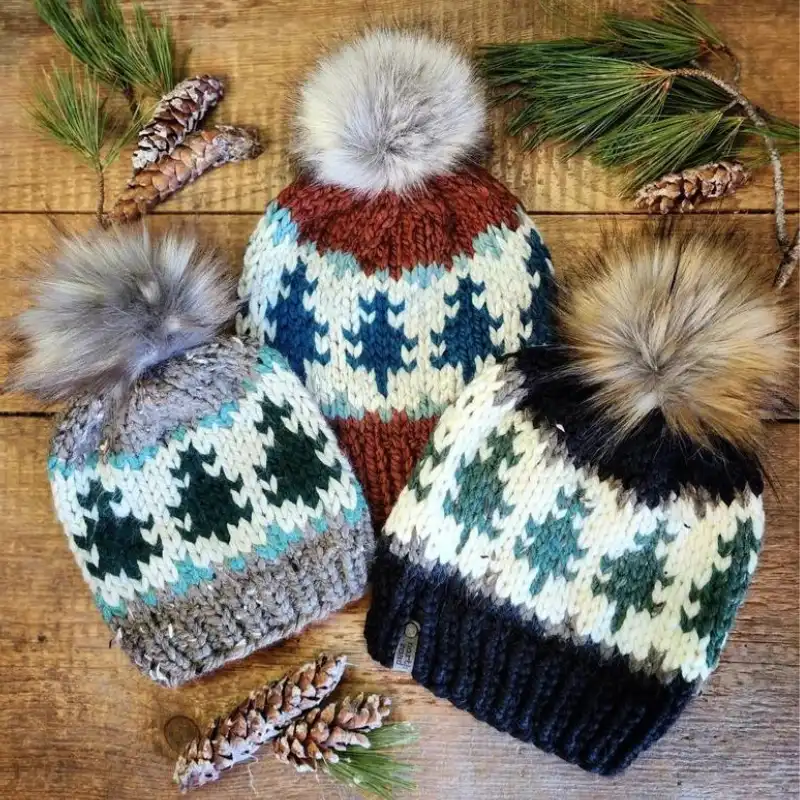
13. Gunflint Pines Hat
Embrace the beauty of the great outdoors with the Gunflint Pines Hat knitting pattern. This super bulky hat design features pine tree motifs or stitches, creating a perfect hat for nature lovers. Perfect for winter hikes or cozy evenings by the fire, the Gunflint Pines Hat adds a touch of rustic charm to your cold-weather attire.
Suggested Yarn: Bulky Weight Yarn
Difficulty Level: Intermediate
Yarn Weight: Bulky
Needle Size: US Size 10 (6.0 mm)
14. The Spruce Point Hat
Capture the essence of winter with The Spruce Point Hat knitting pattern. This super bulky hat design features spruce tree-inspired stitches or motifs, creating a festive and cozy hat. Perfect for winter walks or holiday festivities, The Spruce Point Hat allows you to bring a bit of the outdoors into your wardrobe.
Suggested Yarn: Aran Weight Yarn
Difficulty Level: Intermediate
Yarn Weight: Aran
Needle Size: US Size 8 (5.0 mm)
15. Ammil Beanie Pattern Super Bulk
Stay snug and stylish with the Ammil Beanie Pattern Super Bulky. This design features a super bulky yarn for a quick and satisfying knit. The Ammil Beanie is a versatile addition to your winter accessories, perfect for those who love a chunky and cozy hat.
Suggested Yarn: Super Bulky Yarn
Difficulty Level: Intermediate
Yarn Weight: Super Bulky
Needle Size: US Size 11 (8.0 mm)
16. Bastion Beanie Pattern
Add a touch of urban flair with the Bastion Beanie Pattern. This super bulky hat design features details that give it a modern and stylish edge. Perfect for city strolls or casual outings, the Bastion Beanie is a fashionable and quick knit for those looking to make a statement.
Suggested Yarn: Worsted Weight Yarn
Difficulty Level: Intermediate
Yarn Weight: Worsted
Needle Size: US Size 7 (4.5 mm)
17. Zeke Bobble Hat
Have fun with the texture in the Zeke Bobble Hat knitting pattern. This super bulky hat design incorporates bobbles or textured stitches, creating a playful and dynamic look. Perfect for those who love a bit of whimsy in their accessories, the Zeke Bobble Hat is a charming addition to your cold-weather wardrobe.
Suggested Yarn: Bulky Weight Yarn
Difficulty Level: Intermediate
Yarn Weight: Bulky
Needle Size: US Size 10 (6.0 mm)
18. Monster Cables Hat
Conquer the cold with the Monster Cables Hat knitting pattern. This super bulky hat design features bold cable stitches, creating a hat that’s as cozy as it is eye-catching. Perfect for those who enjoy intricate details in their knitting, the Monster Cables Hat is a standout piece for chilly days.
Suggested Yarn: Worsted Weight Yarn
Difficulty Level: Intermediate
Yarn Weight: Worsted
Needle Size: US Size 8 (5.0 mm)
19. Slouchy Hat Pattern
Embrace a laid-back vibe with the Slouchy Hat Pattern. This super bulky design offers a relaxed fit and casual style. The Slouchy Hat is a go-to accessory for chilly days and cozy evenings, perfect for those who love a comfortable and effortless look.
Suggested Yarn: Worsted Weight Yarn
Difficulty Level: Intermediate
Yarn Weight: Worsted
Needle Size: US Size 7 (4.5 mm)
20. The Turbo Beanie Pattern
Speed up your knitting with The Turbo Beanie Pattern. This super bulky hat design is a quick and satisfying knit, featuring a simple yet stylish pattern. Perfect for those who appreciate a fast project, The Turbo Beanie is a versatile choice for keeping warm in a hurry.
Suggested Yarn: Bulky Weight Yarn
Difficulty Level: Intermediate
Yarn Weight: Bulky
Needle Size: US Size 10 (6.0 mm)
21. Emery Hat Pattern
Stay chic and warm with the Emery Hat Pattern. This super bulky design features a combination of stitches that create a textured and fashionable look. Perfect for those who love a bit of flair in their winter accessories, the Emery Hat adds a touch of sophistication to your cold-weather ensemble.
Suggested Yarn: DK Weight Yarn
Difficulty Level: Intermediate
Yarn Weight: DK
Needle Size: US Size 6 (4.0 mm)
Adding Finishing Touches
Pom-pom
Pom-poms add a touch of whimsy and elegance to your super bulky hat. To create one, wrap yarn around a pom-pom maker or use your fingers – just remember to keep it tight! Once you reach your desired thickness, tie a tight knot around the middle and trim the loops. Fluff it up and attach it securely to your hat for an eye-catching, delightful finish.
Sewrella Yarn
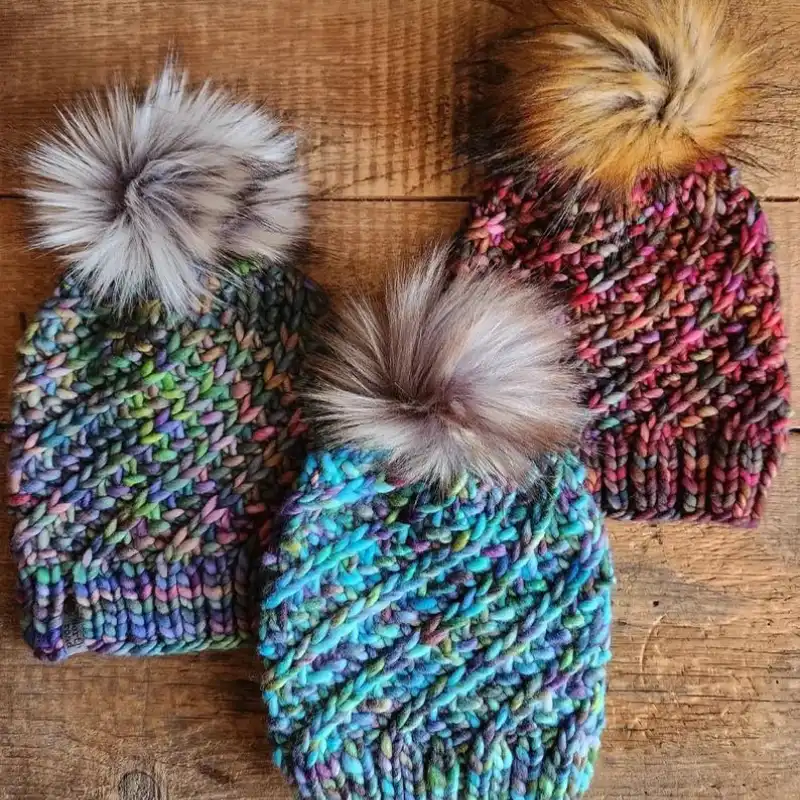
To elevate your super bulky hat’s style and warmth factor, consider using Sewrella Yarn. This luxurious hand-dyed yarn comes in various stunning colorways, perfect for turning heads as you stay warm in style.
When selecting the suitable Sewrella Yarn for your project, consider the colors and textures that best complement your design. A single skein is enough for sizes up to Adult Small, but you’ll need two skeins for Adult Medium or Adult Large.
Tips And Tricks To Avoiding Mistakes
Knitting a super bulky hat can be both enjoyable and rewarding. However, as with any craft, there are potential pitfalls.Here are some tips and tricks to help you avoid common mistakes and perfect your super bulky hat project:
Check Your Gauge: Even though super bulky hats are forgiving, a gauge swatch can help you ensure your hat will fit as expected.
Choose The Right Needles: Using circular needles that are too long can stretch your stitches uncomfortably. Make sure your needles are an appropriate length for the circumference of your hat.
Avoid Twisting Stitches When Joining In The Round: Carefully ensure that your stitches are not twisted around the needle before you start knitting in the round.
Maintain Even Tension: Uneven tension can lead to inconsistent stitch sizes. Practice maintaining an even tension for a more uniform look.
Count Your Stitches Regularly: It’s easy to increase or decrease stitches with bulky yarn accidentally. Count your stitches after every few rounds to catch any mistakes early.
Use Stitch Markers: They’re accommodating for marking the beginning of a round or essential places in your pattern.
Take Breaks: Bulky yarn can be tough on your hands and wrists. Take regular breaks to avoid strain.
Weave In Ends Securely: Bulky yarn can unravel faster than finer yarn. Make sure to weave in your ends securely.
Don’t Rush The Decrease Rounds: Take your time during the decrease rounds at the top of the hat. Rushing can lead to mistakes in stitch counts or patterns.
Be Mindful of Yarn Weight and Brand Consistency: Different brands of super bulky yarn can vary in thickness. Stick to the same brand and type of yarn throughout your project to ensure consistency.
Practice New Stitches on a Test Swatch: If your pattern includes stitches or techniques you’re unfamiliar with, practice them on a test swatch first.
Block Your Finished Hat: Blocking isn’t just for delicate lace; it can also help even out stitches and give your super bulky hat a professional finish.
Embrace Imperfections: Especially as a beginner, remember that minor imperfections add character and make your hand-knitted hat unique.
Read Through The Entire Pattern Before Starting: This helps you understand the overall construction and anticipate any challenging parts.
Keep Notes: If you make adjustments or encounter issues, jot them down. It can be invaluable for future projects or if you need to put your project down and return to it later.
How To Block Knitted Bulky Hat?
Blocking is an essential finishing step in knitting, especially for items like hats, where fit and shape are essential. Blocking a super bulky hat can help even out stitches, improve the overall shape, and give your project a professional look. Here’s a step-by-step guide to blocking your knitted super bulky hat:
Materials Needed
- Lukewarm water
- Mild detergent or wool wash (optional)
- Towel
- Hat-blocking form or a large, round object (like a bowl or a balloon)
- Rust-proof pins (if needed)
Steps
1. Prepare for Blocking
Fill a Sink or Basin: Fill a sink or basin with lukewarm water. If your yarn is wool or a wool blend, add a bit of wool wash or mild detergent to the water.
2. Soak the Hat
Immerse the Hat:
- Gently submerge your hat in the water.
- Press it down to ensure it’s thoroughly soaked.
- Let it sit for 15-20 minutes to allow the fibers to absorb the water.
3. Remove Excess Water
Drain and Squeeze Gently: Drain the water and gently squeeze the hat to remove excess water. Avoid wringing or twisting, as this can distort the stitches.
Roll in a Towel:
- Lay the hat flat on a clean towel.
- Roll the towel up with the hat inside.
- Gently press to absorb more water.
4. Shape The Hat
Use a Hat Form or Substitute: Place your damp hat on a hat-blocking form, which can be a unique foam form or a simple substitute like a round balloon or a bowl close to the desired size of your hat. It helps the hat dry in the correct shape.
Pin if Necessary: If your hat has a brim or specific features that need shaping, you can use rust-proof pins to secure it in the desired shape.
5. Dry The Hat
Air Dry: Allow the hat to air dry completely. It may take longer with super bulky yarn due to its thickness. Avoid direct sunlight or heat sources, as these can cause shrinkage or fading, especially with wool yarns.
6. Finishing Touches
Remove from Form: Once the hat is fully dry, carefully remove it from the form.
Final Inspection: Check the shape and fit. If necessary, gently stretch or adjust the hat while it’s slightly damp.
Additional Tips
- Check Yarn Care Instructions: Always check the care label on your yarn for specific washing and blocking instructions.
- Avoid Heat with Synthetic Yarns: If your hat is made of synthetic fibers, be cautious with heat, as it can melt or distort the yarn.
Suggestion To Add Personal Touch And Style
Adding personal touches to your knitted super bulky hats can transform them from simple headwear into unique expressions of your style and creativity. Here are some suggestions to personalize your knitted hats:
- Choose Vibrant or Unique Yarn Colors: Selecting yarn in your favorite color, ombre yarn, or yarn with speckles or variegated colors can make your hat stand out.
- Add a Pom-pom: Attaching a large, fluffy pom-pom to the top of the hat adds a playful and trendy touch. You can use a contrasting color for an extra pop.
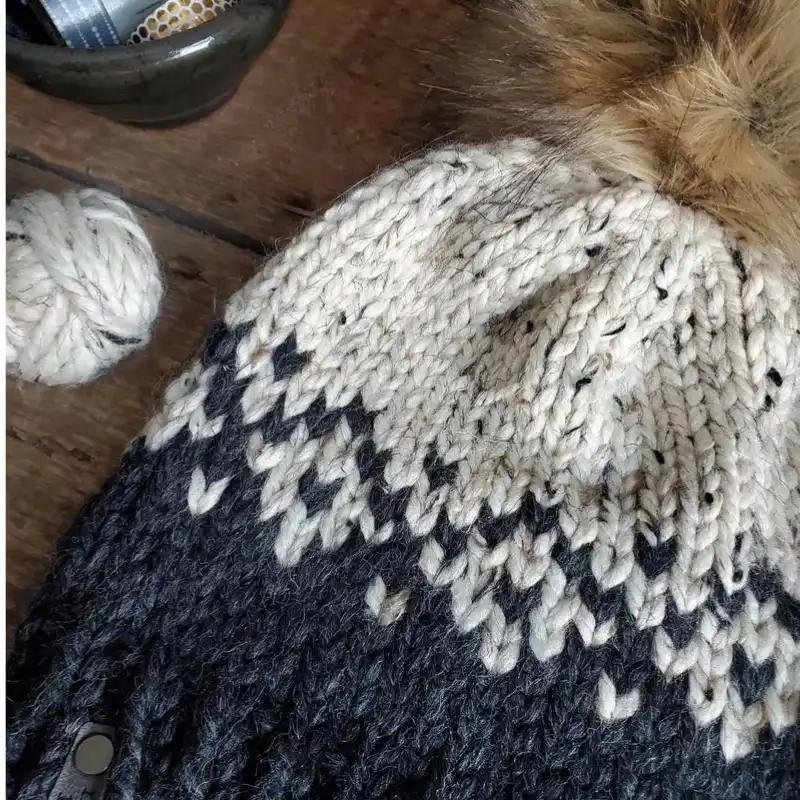
- Incorporate Colorwork: Try simple colorwork techniques like stripes, Fair Isle, or intarsia to add patterns and visual interest to your hat.
- Experiment with Textures: Use different stitches to create textures. For example, bobbles, cables, or lace patterns can add a sophisticated or fun element.
- Embellish with Buttons or Beads: Sewing on decorative buttons, beads, or sequins can give your hat a unique flair.
- Embroider Details: Add embroidered details or motifs after the hat is completed. It can be a great way to personalize gifts.
- Add a Personal Tag or Label: Sew a custom label inside your hat. If you sell your creations, it could be your name, a special message, or a brand label.
- Mix and Match Stitches: Combine different stitches in one project, like a ribbed brim with a stockinette body, to add complexity and style.
- Folded Brim: A folded brim adds warmth and a different style. You can also knit the brim in a contrasting color.
- Attach a Faux Fur Trim: For an extra luxurious touch, attach a strip of faux fur around the brim.
- Create a Matching Set: Knit coordinating items like mittens, scarves, or ear warmers to go with your hat for a complete look.
- Play with Hat Shapes: Experiment with different hat styles – slouchy, beanie, beret, or a pixie hat – to find what suits your style best.
- Add Ear Flaps or Tassels: For a more whimsical or practical hat, add ear flaps and tassels or braids at the ends.
- Use a Contrasting Yarn for Edges: Knit the brim, and the top decreases in a contrasting color for a bold statement.
- Crochet Appliqués: For those who also crochet, adding crochet flowers, stars, hearts, or other shapes can make your hat a unique piece.

Wash & Care Instructions
Caring for bulky knit hats properly is vital to ensuring their longevity and durability. Here’s a set of wash and care instructions tailored for these cozy accessories:
Washing Instructions
- Check Yarn Label: Always check the care label on your yarn for specific washing instructions.
- Hand Wash Preferred: Hand wash your hat in lukewarm water with a mild detergent or wool wash. Avoid hot water as it can cause wool to feel and shrink.
- No Harsh Rubbing: Handle the hat gently without stretching or rubbing it too hard, which can distort the shape and texture.
- Rinse Thoroughly: Rinse the hat carefully in lukewarm water until the water runs clear and all soap is removed.
- Remove Excess Water: Press out the excess water gently. Avoid wringing or twisting the hat. Instead, roll it in a clean towel to absorb additional moisture.
- Drying Instructions
- Air Dry: Lay the hat flat on a dry towel in a well-ventilated area away from direct sunlight and heat. Reshape it as needed while it’s still damp.
- Avoid Hanging: Never hang a wet, bulky hat, as the weight of the water can stretch the yarn and distort the shape.
- No Dryer: Avoid using a tumble dryer unless the yarn label says it’s safe. High heat can shrink or feel woolen hats.
- Storage
- Store Flat: Store your bulky knit hat in a cool, dry place. It helps maintain its shape and prevents stretching.
- Avoid Folding Brims: If your hat has a brim, store it without folding it to prevent creases.
- Moth Prevention: If your hat is made of wool, consider using natural moth repellents like cedar blocks or lavender sachets when storing for long periods.
- Additional Care Tips
- Pilling Maintenance: If your hat starts to pill, gently remove the pills with a sweater comb or a fabric shaver.
- Refreshing the Hat: If the hat doesn’t need a full wash but could freshen up, you can air it outside on a dry day or use a fabric freshener spray designed for wool.
- Dealing with Stains: Spot clean with mild detergent and cold water for minor stains. Avoid rubbing vigorously.
RELATED: 25 Knitting Cast-On Methods Dive Into The World Of Crafting
A Quick Recap
Super bulky hat knitting patterns offer a delightful mix of quick-to-complete projects and stylish, cozy results. Ideal for both beginners and experienced knitters, these patterns range from classic beanies and toques to textured designs with cables and bobbles. They require minimal stitches, allowing you to create eye-catching hats quickly.
Whether you’re knitting for yourself or as a thoughtful gift, these hats add warmth and elegance to any winter wardrobe. So, grab your needles and super bulky yarn and dive into these patterns. You’ll be amazed at how quickly you can knit a storm of stylish, warm hats!
Frequently Asked Questions
Can I Use Regular Bulky Yarn Instead Of Super Bulky For These Hat Patterns?
Regular bulky yarn is possible, but it may affect the size and texture of the hat. You may need to adjust the needle size and stitch count accordingly.
How Long Does It Take To Knit A Super Bulky Hat?
Typically, a super bulky hat can be completed in a few hours or days, making it a great quick project.
Are Super Bulky Hat Patterns Suitable For Beginners?
These patterns are ideal for beginners due to the larger yarn and needles and simpler, faster construction.
Do I Need Circular Needles To Knit A Super Bulky Hat?
Circular needles are recommended for ease, especially when knitting in the round, but you can also use double-pointed needles.
Can I Add A Fleece Lining To My Knitted Hat?
Adding a fleece lining is a great way to increase warmth and comfort. You can hand-sew a cut piece of fleece fabric inside the finished hat.
Is Blocking Necessary For Super Bulky Hats?
Blocking is not always necessary but is recommended for evening-out stitches and achieving the desired shape and fit.
How Do I Care For My Knitted Super Bulky Hat?
Hand wash in lukewarm water with mild detergent and lay flat to dry, avoiding direct heat and sunlight for best care.
- 30 Polo Sweater Knitting Patterns To Keep You Stylish On Every Occasion - January 1, 2024
- 21 Baby Blanket Knitting Kits To Wrap Bundle Of Joy With Love - January 1, 2024
- 15 Cashmere Knitting Kits For Fashionable Knits To Embrace Comfort And Style - January 1, 2024


